Sunday, September 20, 2020

Final Installation Part 6

 I have been working on the doors the last 2 weekends

Got both doors relatively even and the same

I was able to line up all of the major body lines

No windows in yet, that's next

I only rough fit the doors, no gaps have been set

Only fitted the doors so that they did not bind when they opened and they were smooth

DRIVERS SIDE


PASSANGERS SIDE


Front clip latch removal

Decided that the latch for the front clip needed to go


after marking center line, added an aluminum plate


then added curved aluminum pieces to for the structure


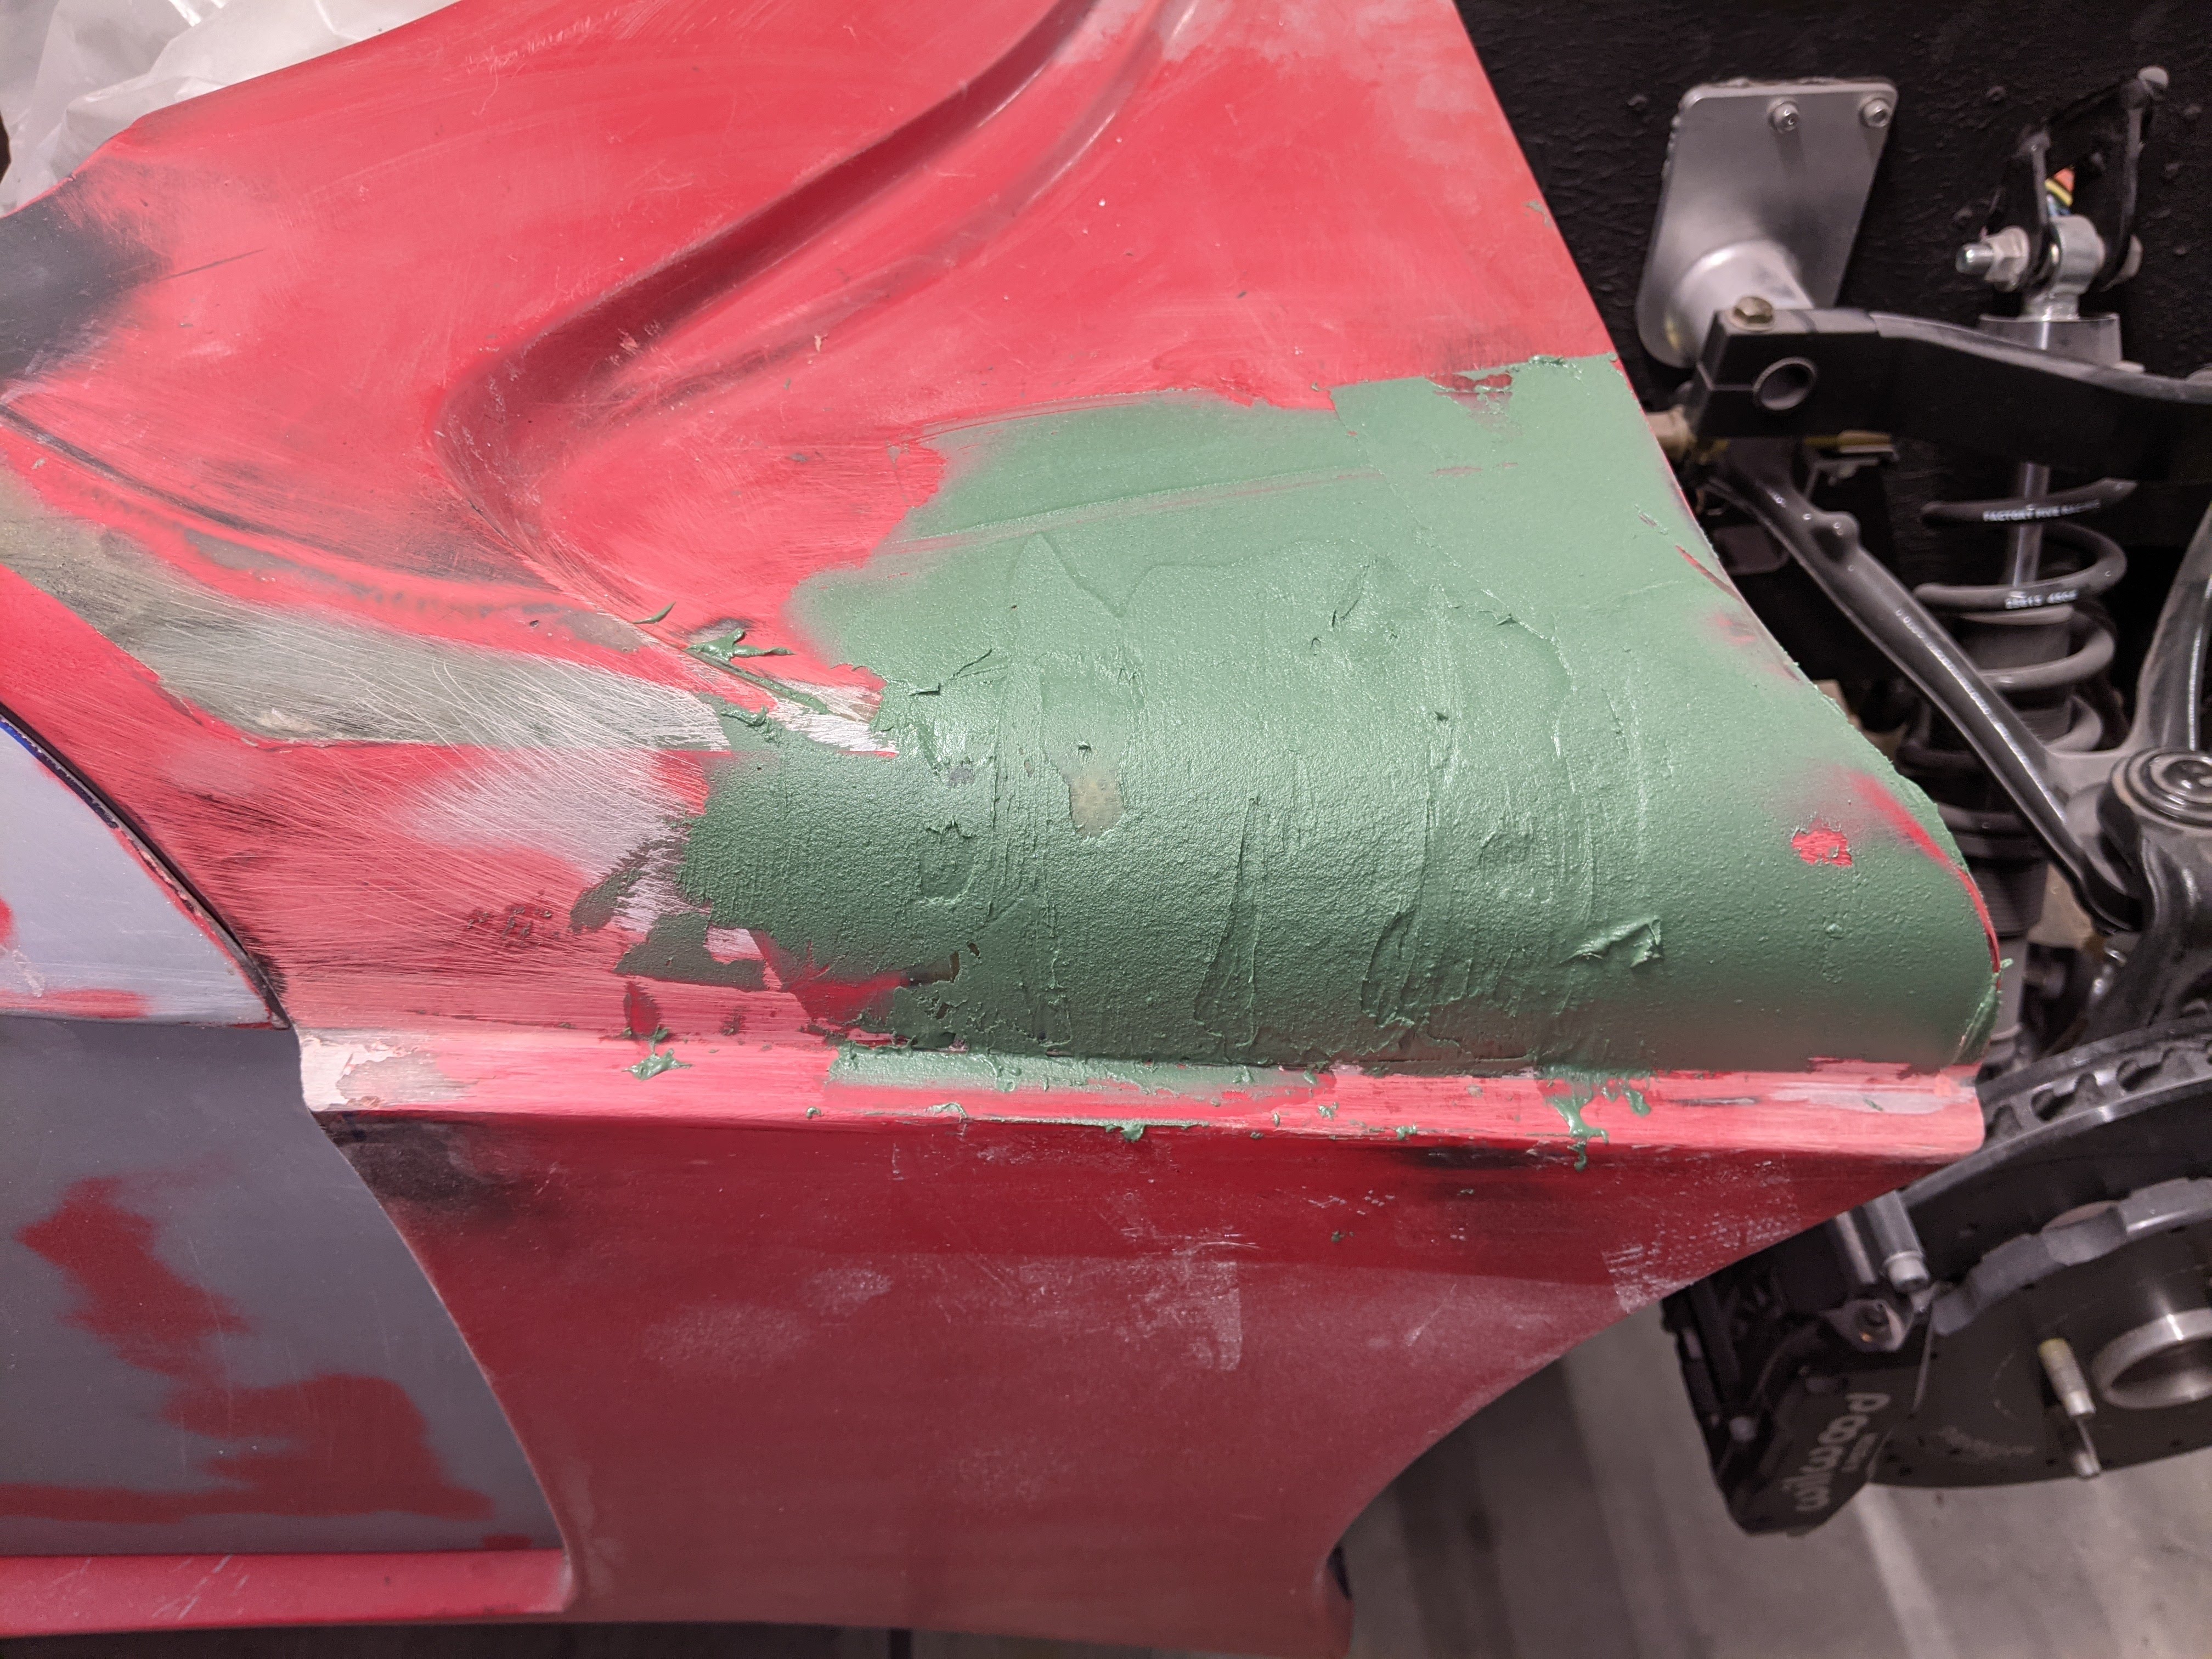
added mesh and body filler to form the outer structure


final coat eliminating the front clip latches


Saturday, September 5, 2020

Final Installation Part 5

 I have been working every weekend over the last few months finalizing electrical

Finished all main electrical, Switches, and dash

Changed the Dash arrangement, again, to support a double D steering wheel


Now work starts on the body and the doors

Created a body jig to be able to raise and lower the body easily

I can adjust the body by my self or with another person makes it easy to manipulate the body

With the body on, I'm finally able to verify the firewall fitment edge to edge


I have about a 1/16th inch gap between the firewall and the body

I bought a thin rubber trim for panels and thought it was going to be to thin but will work perfectly


With the body down and flush my wheels are nicely centered in the wheel wells with no adjustment


Also had first drive today, my dad wanted one also so I videoed him


Final Installation Part 4

 Worked on the Dash Design

Added the switches for Parking Brake and Reverse with LED to tell when fully engaged

Added the Dual Cold Air Intake with MAF sensor

I got 2 of the MAF tubes for symmetry, used a block off plate on the passenger side one


Sunday, April 12, 2020

Final Installation Part 3

For the last 4 Months I have been Finalizing the wiring
It takes awhile to fine tune wiring and make sure everything is connected properly
I went through 3 different Linear Actuators for the Reverse Switch
This is the 35 lb Progressive Automation Actuator for Reverse Gear
Top down view with the Reverse switch mounted to turn on the light

 Side view of Reverse Gear Actuator

Parking Brake Progressive Automation 50 lb Linear Actuator
Mounted inline with the frame 

Under side view of Parking Brake

Underside view looking towards the front

Starter DEI Wrap and the Oil Temperature Sensor

Now that the Wiring is finished I am starting the dash and console configuration
Initial dash and center console mounting
I initially wanted to mount my 7" Reverse Camera Screen below the air vents with my radio mounted vertically but the radio is to wide to fit

Changed the radio to mount below the air vents

As you might have noticed above, I created a bracket for my 7" AEM Digital Dash
This is the second version, the wings on either side are for my 4.3" screens
They will hold 2 screens with 2 inputs, 1 is always on but the second is primary when active