Monday, December 2, 2013

Footbox Panels & Fuel Tanks

This Thanksgiving weekend I started on the internal panels
I installed the Footbox panels for the Driver and Passenger Sides
This took a bit of time, seems easy enough, but the panels had to be re-fit due to the coating
All of the silver is GE Silicon II to glue the metal panels together and stop any water from leaking in.


This is the Passenger footbox

Driver side footbox

This is the radiator plumbing pipes and the rear brake
lines finally mounted

Pre mounted the Gas tanks to see clearance and where the
crossover tube will run

Passenger Fuel tank and rear brake line mounting

Driver Fuel tank and rear brake line mounting
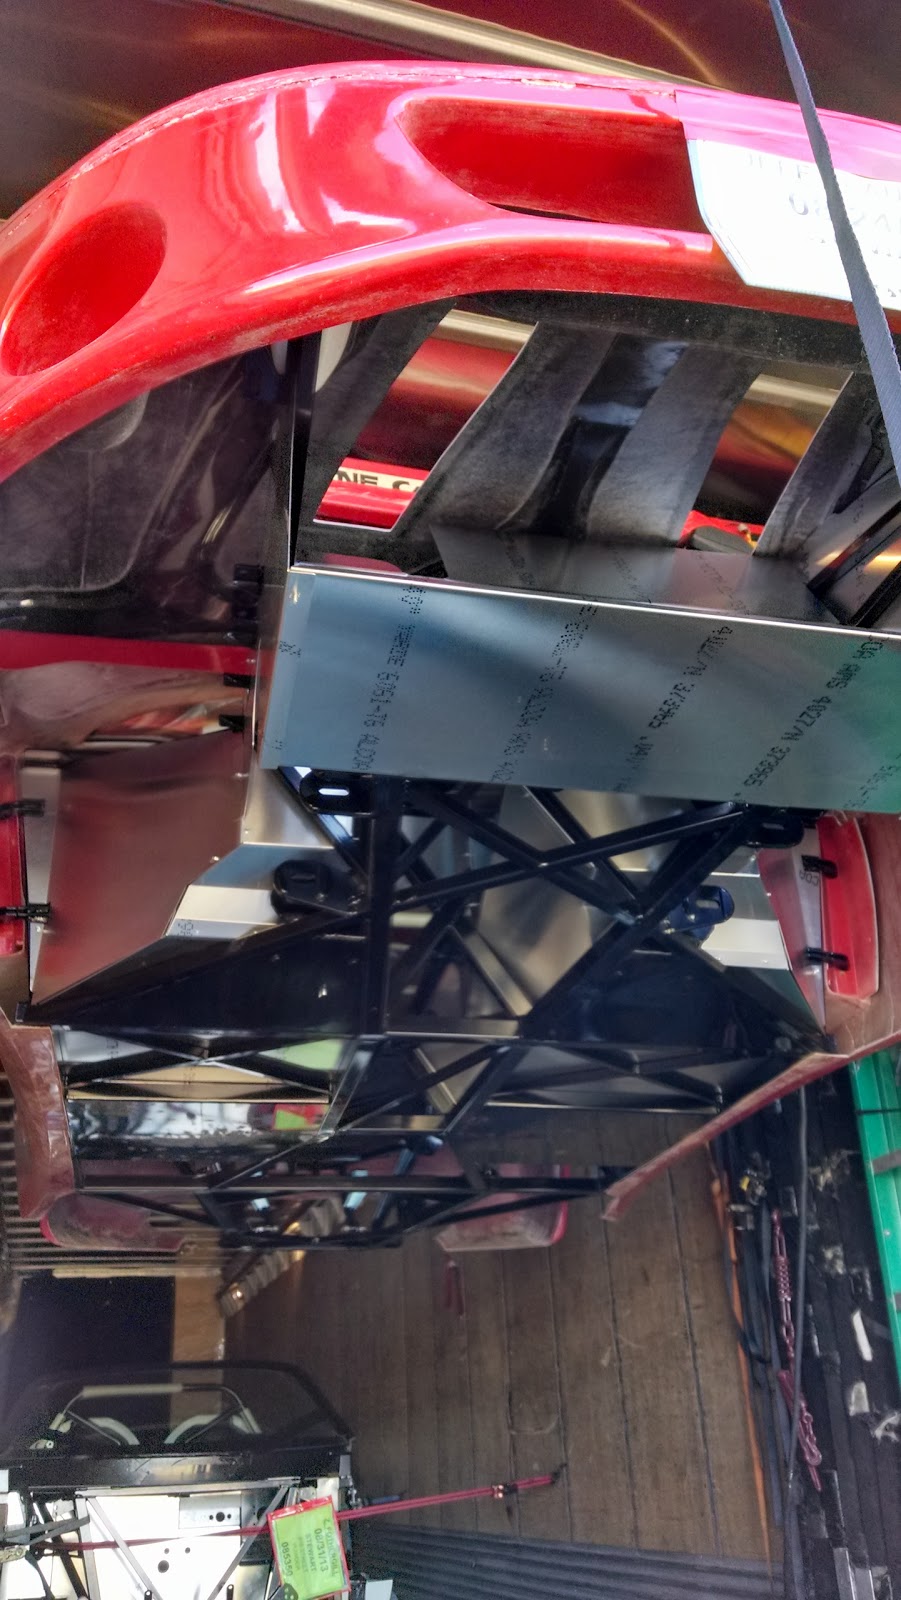
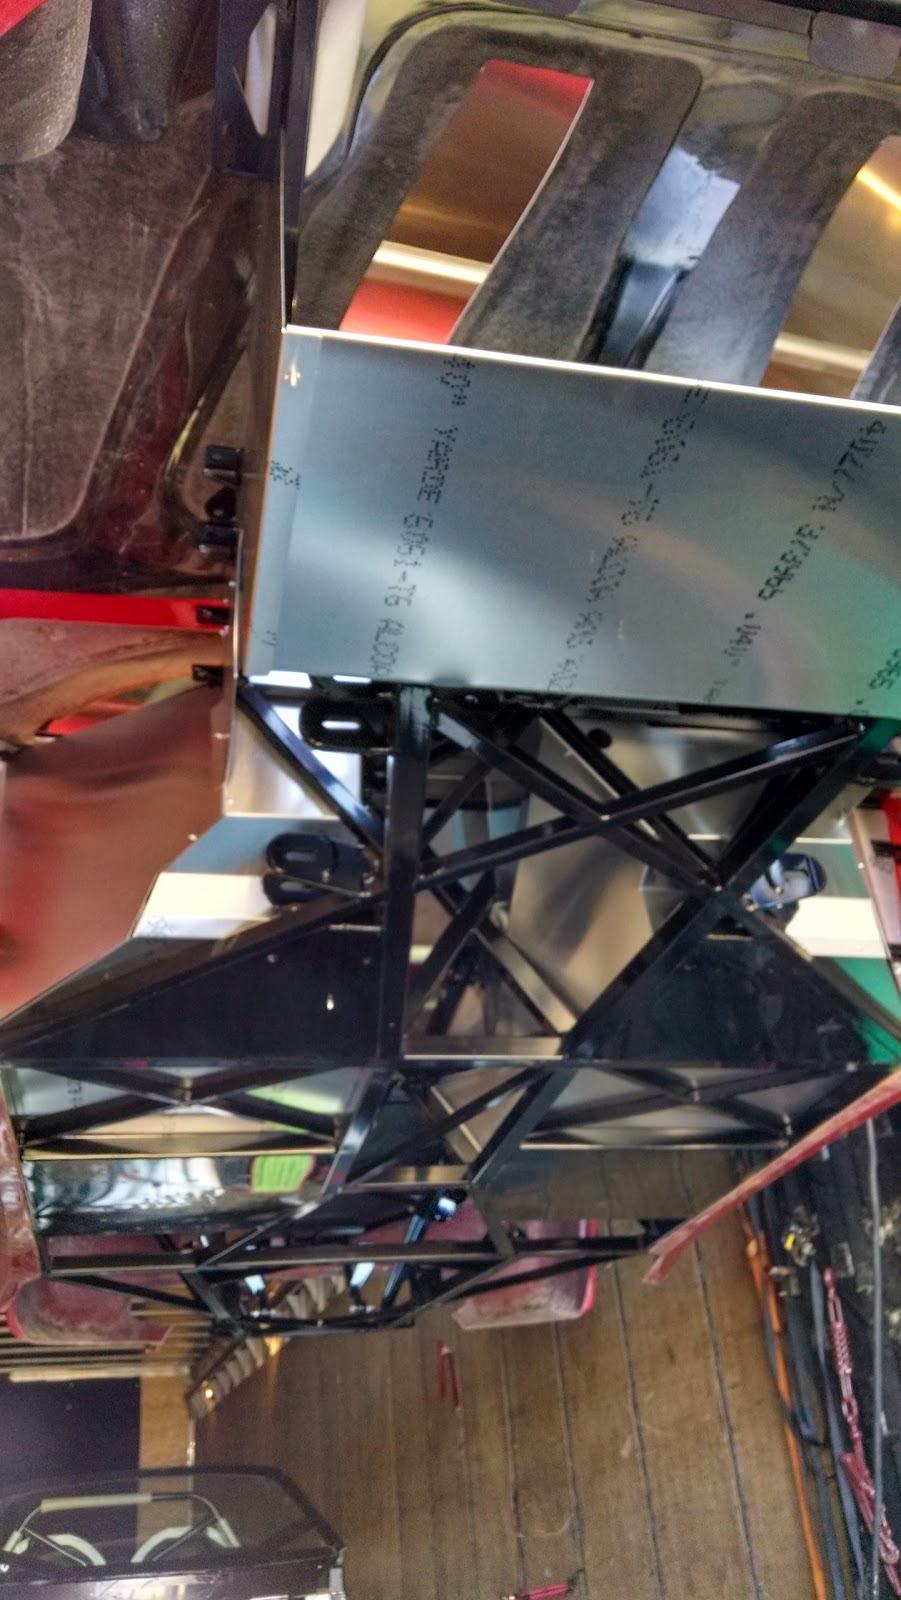
The box is the factory Evap Unit that I will keep using
Situated in an area that maybe useful
Under the Evap unit is the VRaptor Crossover to make setup simple
Replaces the siphon pump in the former passenger tank now the drivers tank


Sunday, November 17, 2013

Brakes

Final assembly of my brakes
Added the Braided line from the calipers to the wall both front and rear

Put the Radiator floor and wall panels on
Ended up putting rivets every inch or so on the floor panel since this takes
the brunt of wind and can get squirmy at 90+ MPH


Next will be more panels that do not interfere with the electrical

Saturday, November 9, 2013

Roller

Finally received my rear suspension parts to make my chassis into a roller

Added Wilwood Brakes and black rotors 


Finally able to put my wheels on, Awesome 


My dad really happy 

Sunday, September 29, 2013

Suspension Assembly

Started the Suspension assembly to get it into a roller
Removed the Upper and Lower control arms
Ran into a problem because I don't have a press to replace the bushings with new Polyurethane one's

Steering Installed. Nothing special and very straight forward

Front Inner wheel well installed and coated with Second Skin Spectrum


Rear Inner wheel well panels installed with Second Skin Spectrum


Finally got my Control Arms back from getting the Polyurethane Bushings pressed in.
Had to order new inserts, as cleaning the existing ones would have taken forever
Finally got them installed


Installed the steering wheel as well as the pedals and the brake cylinders

I had to cut the lower shaft from the main piece making sure I didn't cut the inner steering shaft.
Then ended up having to split the outer steering shaft in order to get it off

Master cylinders, notice there are only two for the front and rear brakes
I do not need the clutch so I took the pedal off

Steering shaft and brake pedal


Sunday, September 22, 2013

Chassis

Removed the body and doors to reveal the chassis
The body is actually very light and can easily be removed with 3 people.


First thing to do is to mark all the Aluminum panels attached to the chassis and drill the holes that will be used to attach them permanently to the chassis.


I will be coating all the panels with a product called Second Skin Spectrum


I have used the Damplifier and the Heat Wave Pro on my dads Corvette to reduce the sound and heat from the tail pipes by at least 10 db.

Arrival

My kit has arrived, YAY!


Tuesday, August 20, 2013

Introduction

This is the Chronicle of the build process for my customized Super Car.
My kit has been shipped and the journey begins.

To date here are the following items purchased:
Gen IV LS3 376 GM Performance Crate Engine with an LS9 Cam Producing 500 HP at the Flywheel
New LS3 ECU with Harness
Upper and Lower Control Arms, Front and Rear
Full Fuel Tank System, including wire harness
New Hubs, Front and Rear
New Wheels, 18" Front and 19" Rear
New Powered Side Mirrors
Corvette Z06 Axels with 7,000 Miles
Windshield Wiper Motor and Reservoir
Oil Reservoir
Aluminum Radiator and Condenser
145 Amp Alternator
New Billet Aluminum Alternator bracket
New A/C Compressor with bracket
New Intake Valley Plate to Reverse the Intake
New 90mm Throttle Body
New 60lb Fuel Injectors
New Bosch Spark Plug Wires
New AC Delco Spark Plugs
New LS3 Knock Sensors
New Main Belt Tensioner